This article will help you create a Plugnote account for your employees!
Starting
- Ask the Customer Support team to give access to the "Plugform XX01 Users (Corporate)";
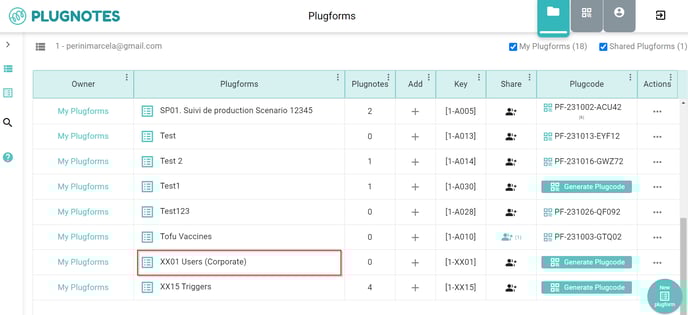
- Go to the Plugnotes homepage and select the "Plugform XX01 Users (Corporate)":
- Click on the "+" icon to add a new Plugnote;
- A new plugform will open and you can start to type the data information for the new account (check the instructions below).


Filling the Plugform
- Numero Corporate: Type the corporation number of your company. If you don't know, please ask the customer success team.
- Ref. Interne User (Nom-Matricule): Type the full name, first/last name, or the initial letters of the new user.
- Type of user: Choose between the 3 different types of users: Corporate Admin: 1 per corporate account - account who can manage the users; Admin: Users who can create and manage Plugforms; Invited: Users with whom we can share Plugforms but they can't create new forms.
- Info user: Fill the table with the user data. Name, surname, GSM, email, and the name initials:
- Type de connection: Choose between 2 options to make the login into the Plugnotes account: Login: Connect with email and password; SSO: Connect through an Outlook account.
- Login (if different of mail): Insert an alternative email in case the new user prefers to use a different one.
- Mot de passe génerique: Choose a password for the new user. Press the icon "save" to save the password:
- Statut: Choose the status for the new user: Actif: If the person is active; A Archiver: If you want to keep the user data but the person is out of the company/role for a while; A supprimer: If the user is not working on the company/role anymore and you want to delete the data.
- Regroupements (Crit. xx): Optional field to give users extra information or also to use it as a filter facility. For example, you could include the field "department elevators" and use it as a filter to send the plugform only for this category: "shared plugform only with elevator workers".
- Gestion de partages: Choose the plugforms and review the information that you would like to share with the new user: Owner: Paste the email address from the owner of the plugform you want to give access to; Cié PF (1-XXX): Paste the key code from the form; Droit: Choose the rights that the new user can have; Code Vue: Choose to give access to some "shared screen" related to the plugform you choose - you can always edit the field visibility. To learn more about "sharing screens" please check the article by clicking here; Filter sur vue: Paste the filter visibility you want to give access; Nº Champ pour Critere: Choose the criteria according to the sharing setup; Critere: In case you want to share the notes in the plugform, you need to insert the number of notes: Affichage Nbr PN: Yes or no.
- Gestion des modifications: Insert the information related to the creation of the new user: To create: Insert the date you want the contact to be created: To update: In case of any update, insert today's date and then click on the "webservice" button; Created by: The contact email will be updated after pressing the "webservice" button; Last update: The last update will be inserted automatically after pressing the "webservice" button. Webservice button: Located at the top of the page - will start the operations after you press it:


Saving the Plugform
To save the data, press the button "save" located at the top of the page:

Customer Success
If you have any questions, please contact our Customer Success Team